BACKGROUND:
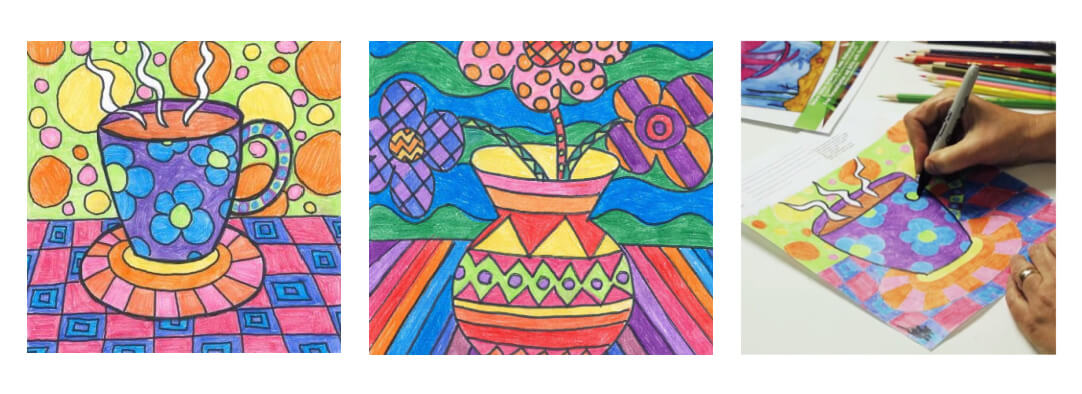
This lesson plan features Still Life Drawing as very simple drawing created with just a few shapes and lines, then filling in ALL of the spaces you have created with different BRIGHTLY colored designs. We are drawing a Still life art coffee mug, but if your student doesn’t want to draw a mug, they can draw a simple vase with flowers in it using ovals and a few curved lines as well. The important part of this lesson plan isn’t the subject of the still life they draw, it’s the bright colors and designs they use in all of the open spaces they create.
NATIONAL CORE ART STANDARDS:
Anchor Standard #1
-Generate and conceptualize artistic ideas and work.
Anchor Standard #2
-Organize and develop artistic ideas and work.
Anchor Standard #3
-Refine and complete artistic work.
Step 1:
In pencil, draw a straight horizontal line about one third away from the bottom of the page. This will show the end of your “table top”. Next, draw an oval shape in the top half of your paper. From the ends of the oval, draw curved lines going down to the middle of the table-top. Connect these two lines with a slightly curved line. This is the main body of the coffee mug.
Next, draw an oval shape just before the bottom of your mug. This is the saucer or plate that mug sits on. Erase any overlapping lines you may have created. Now, on the side of your mug, draw a half circle, then draw a slightly smaller half circle right inside the first one. This will be your mug handle.
Lastly, draw a curved line (in the shape of an upside- down smile) inside the top oval shape of your mug to show the coffee inside and some squiggly shapes going up to look like hot steam. Your finished mug should look similar to the black and white line drawing above. FOR THE VASE: Do a similar simple line drawing , starting with an oval, then using curved lines to finish and connect the shape as shown above. Add flowers in the vase. Your drawing should look similar to the line drawing above.

Step 2:
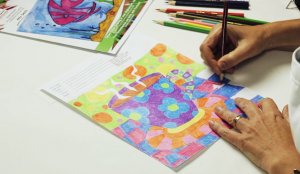
With brightly colored markers, craft paint, or colored pencils, draw and color a different design in ALL of the spaces created in your mug, on the table-top, and the wall behind the mug. You can use different shapes and lines to make all kinds of different patterns, or even create your own patterns with little pictures (like the flower pattern on the sample mug shown above). Making each design different and colorful only makes your creation more vibrant and exciting, so use your creativity and fun with your design!
Step 3:
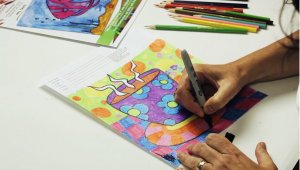
When you are all finished with the coloring portion, outline all of your lines and shapes with a black or dark colored magic marker to help make your designs stand out. Outline your mug and saucer as well.
For More Information On How To draw Still Life Drawings Click: https://www.pinterest.com/wennersb19/art-lesson-still-life/