BACKGROUND:
Recycling is super important to sustaining our ecosystem. One way we can reuse materials is in art projects! This lesson plan makes the most of an item that we all have sitting around our homes: magazines. While magazines can, in fact, be thrown into the recycling, it is an unfortunate truth that many of them wind up in the trash can instead. So rather than letting these magazines fill up landfills until they eventually decompose, ask your students to bring them into class for this fun art lesson plan! For more ideas about recycling in the art classroom, check out our blog post Recycle in the Art Room. And for more information about recycling in general, check out Recycling Basics.
OBJECTIVE:
To show children how to create a tree with an old magazine and how they can reuse materials to do great pieces of art. To help children improve their fine motor skills while they express their feelings, reduce stress, and get many of the advantages of creating art.
Anchor Standard #3
-Refine and complete artistic work.
Anchor Standard #6
-Convery meaning through the presentation of artistic work.
Anchor Standard #11
-Relate artistic ideas and works with societal, cultural and historical context to deepen understanding.
INSTRUCTIONS:
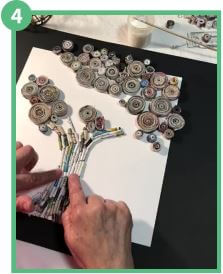
Use old magazines or newspapers to create a tree. Draw the trunk and branches of the tree beginning at the bottom of a white paper and cover them with different sizes of magazine sticks that I will show you how to make. When you finish to cover the trunk and branches you can glue some circles of magazine paper that you will also learn how to create. It is fun and nice to use different sizes of circles too.
Step 1:
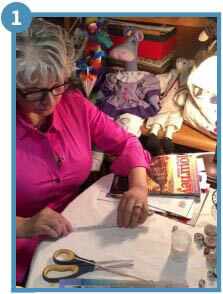
GENTLY tear off magazine sheets. Fold them in three equal parts, unfold them and cut each part with the scissors. FOLD the pieces of magazine you already cut in half until you form a line. Unfold them and fold the right and left side of the paper to the line you can see at the center. After that you have to fold this in a half and then in another half.

Step 2:
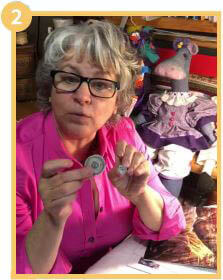
GLUE the edges of your folded paper and, with the help of your stick, roll each piece until you get a circle. Do many circles of different sizes. You can do that by glueing and rolling more than one folded pieces of magazine.

Step 3:
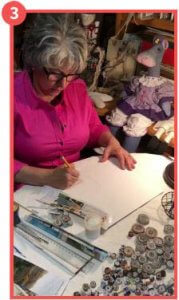
DRAW the trunk and branches of your tree in the white paper using your pencil.

Step 4:
ROLL again, with the help of a stick, some of the pieces of magazine sheets that you cut in three parts at the beginning of the project. You have to start from the left corner at the bottom and roll up until you finish. Use some glue while you roll. When you finish, carefully pull the tightly rolled magazine apart from the stick. When you have many rolled magazine sticks cut them into 5 or more small pieces and paste them in the trunk and branches you drew. Now paste the circles you made on the top of the branches. Remember to work clean since your paper is white.

FUN FACTS:
While your students are working on their pieces, teach them these fun facts about recycling!