OBJECTIVE:
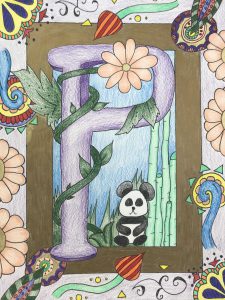
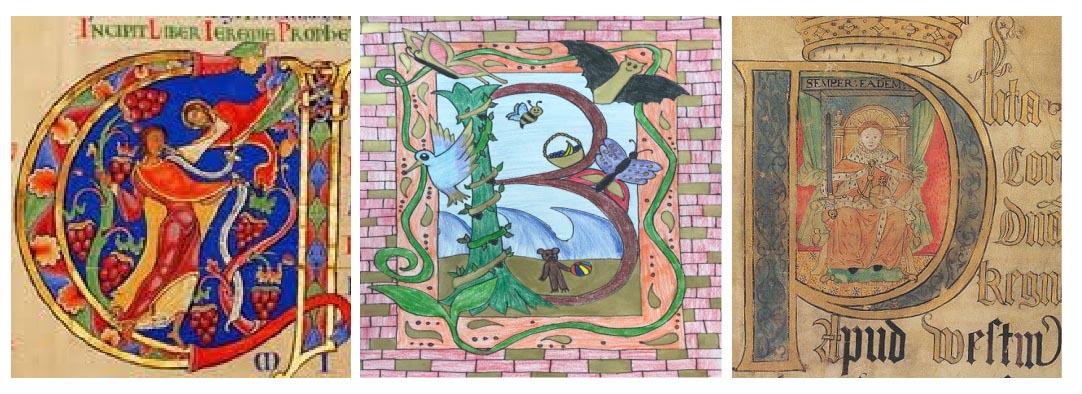
Students will learn about illuminated letters. An illumination is an embellishment, or additional decoration that enhances the pages of a written, or manuscript page. An Illuminated letter was usually the first letter of a page or paragraph.
Anchor Standard #2
-Organize and develop artistic ideas and work.
Anchor Standard #3
-Refine and Complete artistic work.
Anchor Standard #5
-Develop and refine artistic techniques and work for presentation.
Anchor Standard #11
-Relate artistic ideas and work with societal, cultural and historical context to deepen understanding.
INSTRUCTIONS:
Essential Questions Where do we begin? What is an illumination? Why is it important to learn about them? When were they made? Who made them and how were they made? How can I make one? Let’s find out!
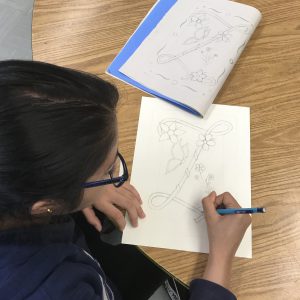
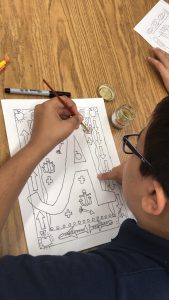
Step 1:
Choose a letter in the alphabet to use for the Illuminated Letter project. Brainstorm things that begin with the letter chosen. For example: Letter “B” bricks, birds, bat, butterfly, bear, etc. Then, using a pencil draw the letter large in the center of the paper. Next, take your ruler and create a 1 inch by 1 inch border around the entire paper. Lastly, begin drawing the words listed during the brainstorming process.
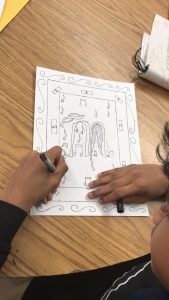
Step 2:
Take a thin Sharpie marker to outline pencil lines in the drawing. Next, take an eraser to erase any excess pencil lines from the paper.
Step 3:
Using a thin paint brush, paint the letter and/or border with gold paint. Remind. students not to overuse the gold paint, as it is meant to highlight and illuminate the letter.
Step 4:
Once the paint has dried completely, students can finally begin coloring in the rest of the project using colored pencils.