OBJECTIVE:
Students will be able to create self portraits of themselves using line to create a figure, and pattern to create a background.
Anchor Standard #3
-Refine and complete artistic work.
Anchor Standard #5
-Develop and refine artistic techniques and work for presentation.
INSTRUCTIONS:
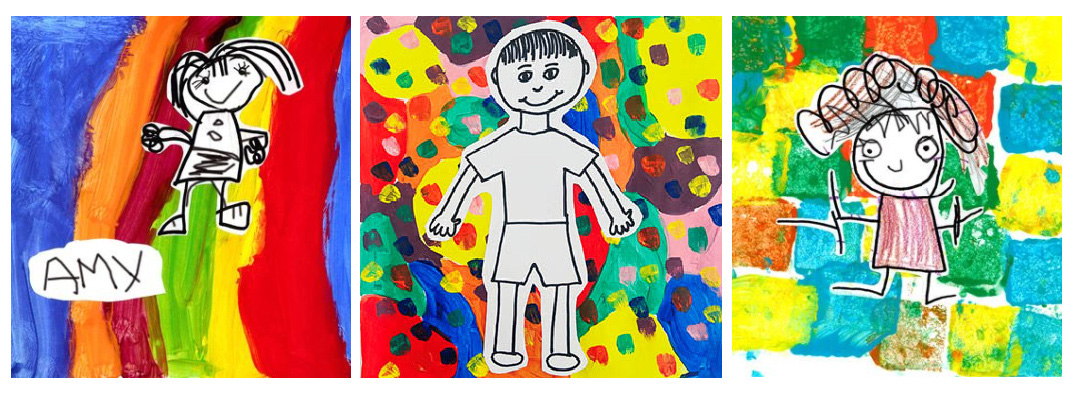
Create a fun and colorful self portrait by first painting a background, then painting a pattern over it, and finally gluing a full body portrait onto it.
Step 1:
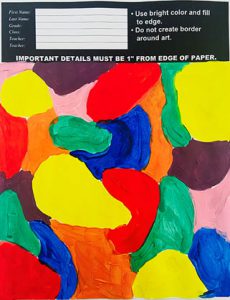
Students will paint the Display My Art paper in a variety of colors. Instruct students to make sure that the colors do not mix. They want the colors to touch, but not mix. This can be practice for young students to use their paintbrush carefully and intentionally. Have students fill the entire paper, with no white space showing.
Step 2:
Once the paint is dry, have students create a pattern using paint. Discuss pattern, and remind students that patterns repeat the same shape over and over again. For example, students can create a pattern of repeating dots, lines or swirls.

Step 3:
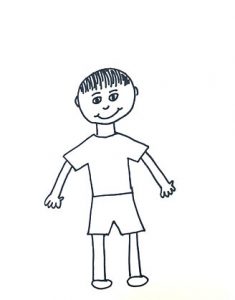
On a separate sheet of white paper, have students use a marker to draw a picture of themselves. Remind them to draw BIG and try to take up most of the paper. Instruct students that a self-portrait should be a picture of YOU. Have them think about what kind of hair they have, what type of clothes they like to wear, and other unique elements they can draw to make the portrait look like them.
Review the shapes that make up a human figure, an oval for the head, a rectangle for the body, etc. Remind students that humans are not stick figures, and encourage them to use shapes to create each part of the body. This drawing should be a contour line drawing, remind students they are just drawing an outline and to make sure they don’t use the marker to color it in.
Step 4:
Once the painted background is dry, have students cut out their self portrait and use a glue stick to glue it in the middle of the painted paper.
